Hi There
Today I receivd my new Mariane plates from France and decided to do a letter design using it
Here are the materials I used from left to right
Gelish gel polish in Do I Look Buff, Gelish Matte Top It Off, Gelish normal Top It Off, Kiko Polish in black 275, OPI polish in Going My Way or Norway, OPI polish in Romantically Involved, OPI polish in Alpine Snow, Magpie glitter in Jules, Gold glitter from The Nail Team, China Glaze polish in Nice Caboose, China Glaze polish in Release, Mo You London Scholar Collection Plate 02, Born Pretty Plate BP34 and Marianne Nail Plate 98.
I started by painting all the nails with 2 coats of Gelish Do I look Buff
I did the little finger first I took my Magpie Glitter and my gold glitter and using my glitter brush used this to press the glitter into the nail I used the Magpie glitter in Jules at the base of the nail and the gold glitter at the top of the nail
Next I did the middle finger and stamped using Mo You London Plate Scholar Collection 02 and black polish Kiko 275
I then moved onto the index finger and decided to do a decal I used stamping plate BP 34 and black polish Kiko 275. I then couloured in the stamped image using China Glaze Nice Caboose and China Glaze Release
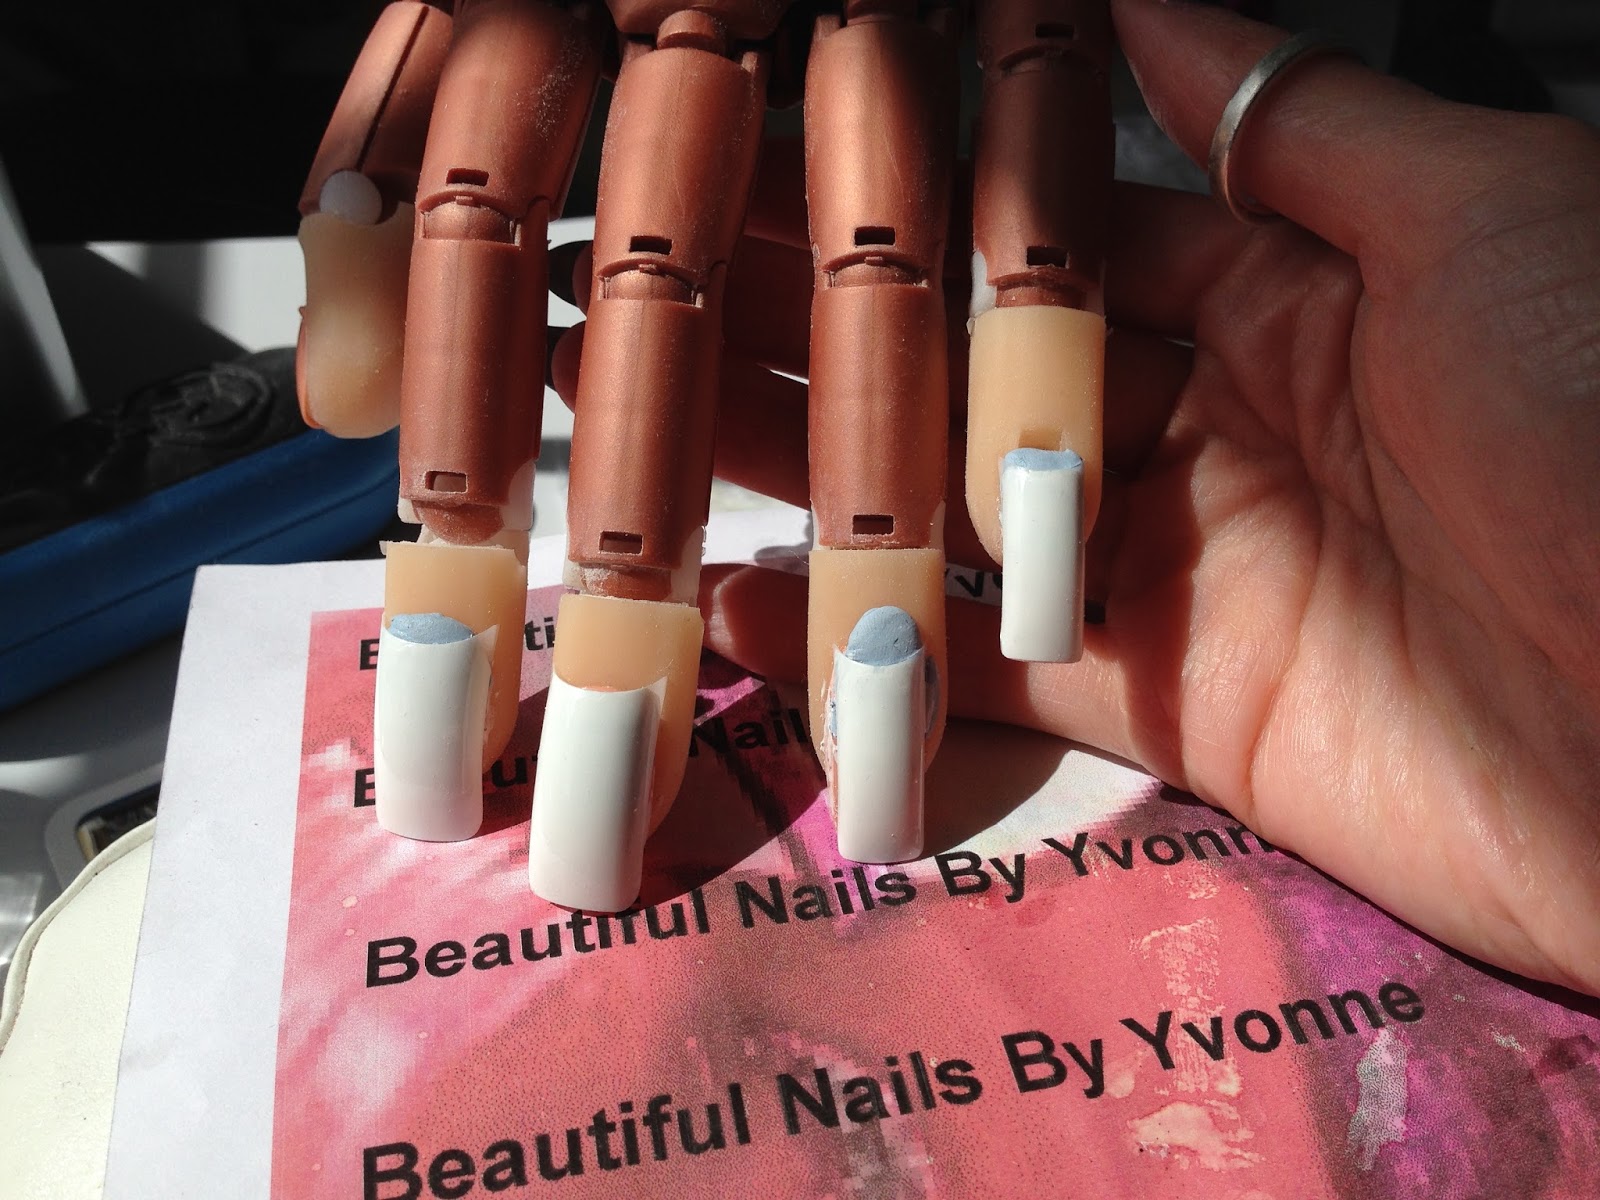
Lastly I did the ring finger I did some smooshing by putting a few drops of polish on a piece of paper and then pushing my stamper into the mixture and smooshing it around. I used OPI Going My Way or Norway, OPI Romantically Involved and OPI Alpine Snow. I then stamped this on my nail
When you are happy with the design you are ready to stamp I took my Marianne Nails plate 98 and my black Kiko polish 275 and stamped the image of the postcard with the butterfly onto the smooshing design. I then top coated the ring finger with Gelish Matte Top It Off and the rest of the nails in normal Gelish Top It Off
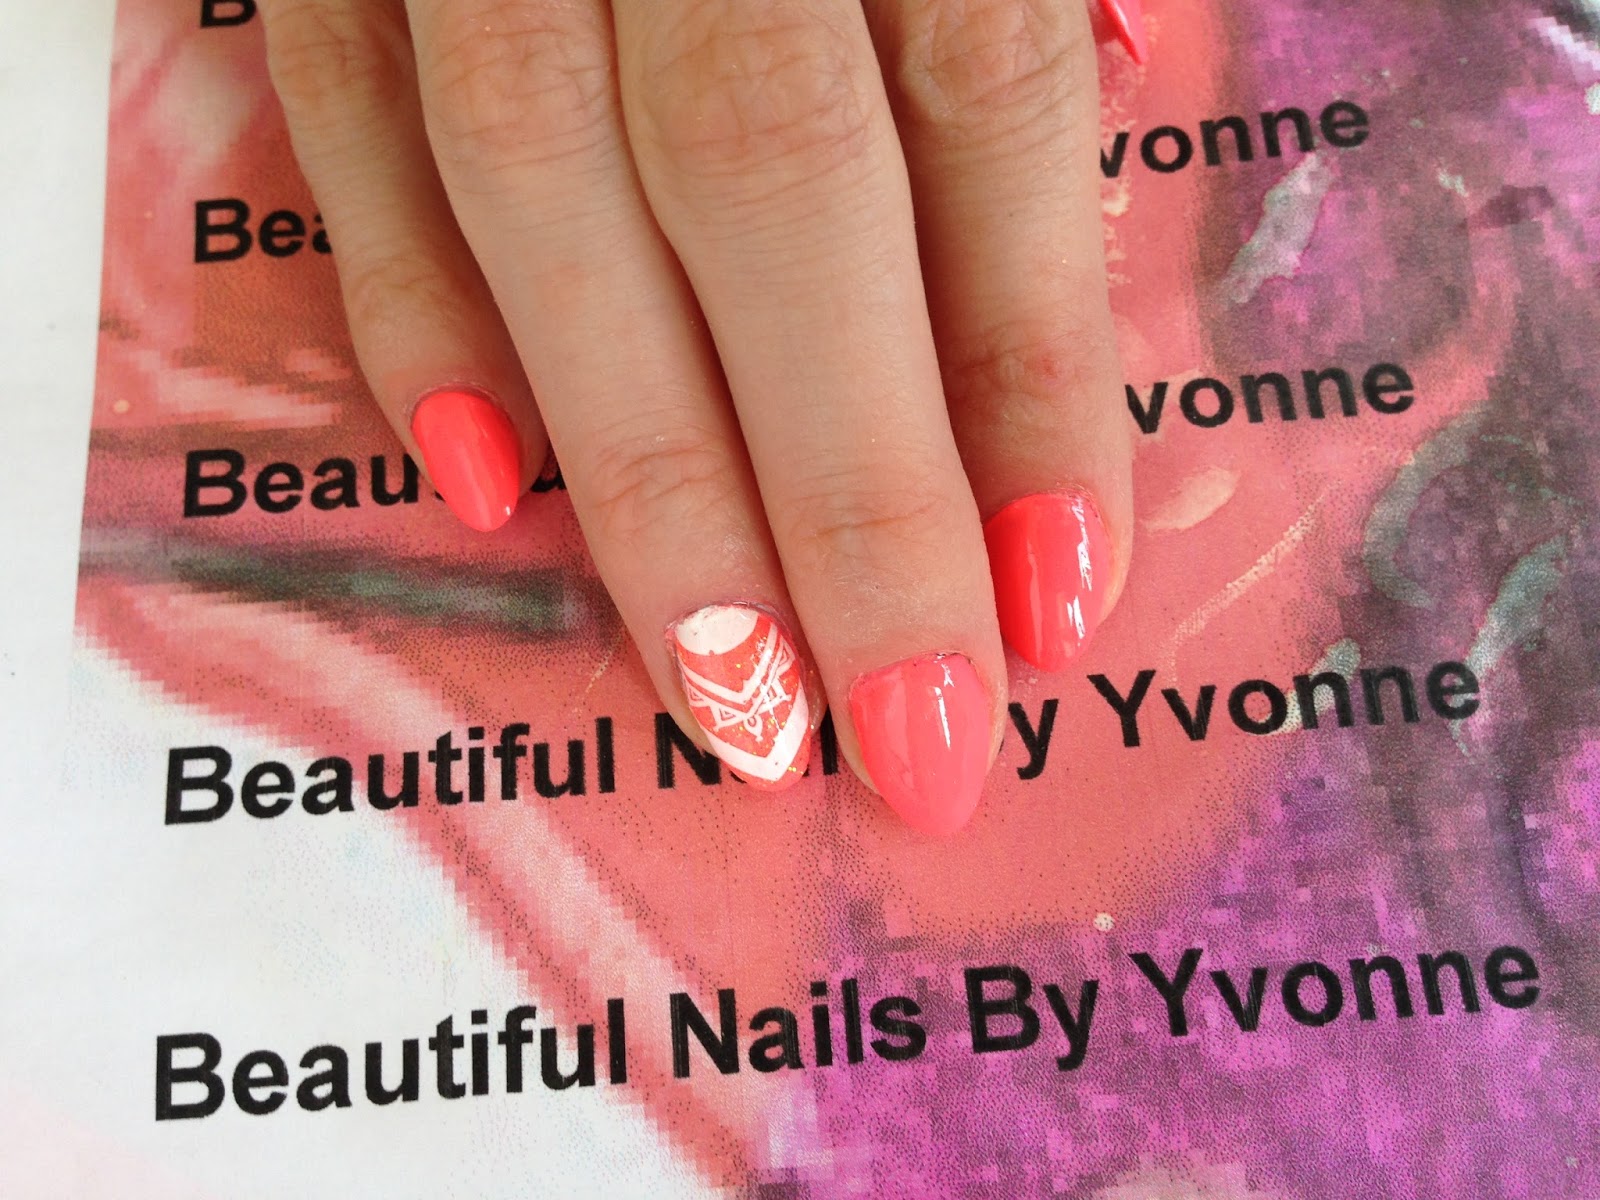
This is the finished design
I am really happy with the way this design worked out
Hope you like it as much as I do
Thanks for reading
Yvonne xx
Hi There
Today I have been inspired by the romantic city of Paris for my nail design
Let's get started
Here are the materials I used
So from left to right as usual Gelish gel polish in The Big Chill, Gelish Matte Top It Off, Creative Shop stamper and scraper, China Glaze Adventure Red-y, Kiko black polish 275, Magpie Dust in Tiara, Glitter from The Nail Team in Crystal Shine, Gelish Top It Off, home made water transfers, Born Pretty nail plate number BP36, Messy Mansion nail plate number MM06 and Chez Delaney Roses 001 plate.
If you are doing this design on your natural nails be sure to use the Gelish Foundation base coat before you start. As I was painting straight onto acrylic enhancements I just started with the colour and I applied 3 coats of Gelish The Big Chill on all my nails.
Before starting my nails I made some water decals using water decal paper and google and used a picture of the Eiffel Tower. I put this in water or about 20-30 seconds and then peeled the design off the backing paper and stuck it onto my ring finger.
As you can see there are a few wrinkles in the design try to smooth these out.
Next I did my little fingers, I used a glitter brush to add the Crystal Shine glitter to my nails
I then turned to my middle fingers and I used Magpie Dust in Tiara and a glitter brush to add the dust. This is why I love using gel polish it allows glitter and powders to stick to it using the tacky layer so that you don't have to worry about smudging your design like what sometimes happens with normal polish.
Now that all your nails are painted and decorated use Gelish Matte Top It Off on your ring finger and normal Gelish Top It off on all the other nails.
Now is where all the fun starts I decided to do a rose decal for the ring finger. I used Chez Delaney plate Roses 001 plate and did the advanced stamping technique to do the rose. I stamped the design in Black Kiko polish 275 and coloured in the rose using China Glaze Adventure Red-y
Next I used Messy Mansion plate MM06 and used the Ooh La La design which I stamped in Kiko black polish 275 and stamped this on the side of the Eiffel Tower. Last but not least I used my Born Pretty BP36 plate and used the Paris Je t'aime design and stamped this onto my middle finger using Kiko balck polish 275. When you have finished add another coat of Matte Gelish Top It Off to the ring finger and normal top it off to your other fingers to seal in your stamped design.
This is the finished design. I am so happy with the way it turned out
I hope you enjoyed this tutorial
Thank you for reading
Yvonne xx
Hi There
I have had this design in my head for a while now but for some reason I haven't gotten around to doing it. It is a Banksy inspired design
Let's get started
Here are the materials I used
So from left to right as usual I used OPI Cement the Deal, OPI Muir Muir on the Wall, Beauty Secrets Silver glitter scented topcoat, Mo You London Stamping Polish in Black Knight, Esmaltes Da Kelly stamping polish in Muuualda, Mo You London stamping polish in Sweet Lips, Mo You stamping polish in Cool Pool, Mo You stamping polish in Deep Ocean, Fab Ur Nails Fun 3 stamping plate, Mo You London Rebel Collection 02 and Bundle Monster plate BM416
I know it's a long list but it does look quite good when the design is complete (well I think so anyway)
I started by painting my ring finger with 3 coats of OPI Muir Muir On The Wall and the rest of the fingers in 3 coats of OPI Cement The Deal
Next I took my Fab Ur Nails Fun 3 plate and used my Esmates Da Kelly stamping polish in Muuualdato to stamp the image of the brick wall on the ring finger
I know the image isn't straight but it doesn't really matter. I then took my Mo You London Rebel 02 plate and my Mo You London stamping polish in Black Knight and stamped the image of the little girl and the balloon on the middle nail
Now I took my Bundle Monster plate BM 416 and used the splatter image. I placed random sploges of Mo You London stamping polish in Sweet Lips, Cool Pool and Deep Ocean randomly over the image and then scraped. I then put this image over the ring finger to look like grafitti
Lastly as I like a bit of sparkle I used Beauty Secrets Silver Glitter scented topcoat on the little and index fingers.
This is the finishged design
I hope you like it
Thank you for reading
Yvonne xx
Hi There
Today I have done a wedding inspired design as it is wedding season
Let's get started
Here are the materials I used
So from left to right as usual, OPI Alpine Snow, Creative shop stamper and scraper, Mo You London stamping polish in Sweet Lips, Mo You London stamping polish in Black Knight, OPI Romantically Involved, Rhinestones, Pearls, Iridescent White glitter, dotting tool , Crystal Katana and Marianne Nails plate number 82.
I started off by painting all the nails with OPI Alpine Snow I used 2 coats
Next I put a topcoat on the middle and little fingers and added the iridescent white glitter ( I got mine from ebay and they are by Smileys6062 I can't tell you how wonderful her mixes are I highly reccomend them)
I have taken a close up of one of the nails as you can't s t is withot blrring the image slightly
Next I did the decal on the ring finger I used my Marianne Nails number 82 stamping plate and Mo You London Stamping Polish in Black Knight to stamp the image
I used OPI Romantically Involved and a dotting tool to fill in the flowers. As I wasn't filling in the rest of the image I covered it in clear polish so that it would stick to the nail when I rolled it on. I then added a rhinestone to the middle of the flower in the bottom left hand corner
It looked like this
For the index finger I used my Marianne Nails stamping plate number 82 and my Mo You London Stamping polish in Sweet Lips and stamped the swirly image onto the nail
The last thing to do now is to add some bling. I used some rhinestomes and pearls on the middle finger over the glitter. I added these using my Crystal Katana which is amazing, and created a pattern in the top left corner of the nails and the bottom right corner. To tie in the little finger I added 1 rhinestone and 1 pearl to the top middle of the nail and this is the finished design
What do you think I really like it and you can switch the colours to match the theme of the wedding.
Thank you for reading
Yvonne xx
Hi There
Today I have done Chevron Neon Nails
Let's get started
Here are the materials I used
From left to right Creative Shop Stamper and Scraper, Esmeltes Da Kelly Stamping polish in Dolly, China Glaze Thistle Do Nicely, Magpie Glitter in Darcy, ASP Wow It's Dry Topcoat and Mo You London Artist 17 plate
I started by painting all my nails with 3 coats of China Glaze Thistle Do Nicely. If you prefer you can do 1 coat of a white polish and then put your neon colour over the top. I would recommend that if you are doing this design on your natural nails that you use a base coat. I am wearing enhancements so I didn't use one.
I then topcoated all my nails using ASP Wow it's Dry Topcoat. I then used the Magpie Glitter in Darcy and an old makeup brush to press the glitter into the topcoat on my ring finger and it looked like this
I then added 2 coats of ASP Wow it's dry topcoat to the ring finger to make sure that the nail was smooth and ready for stamping.
Next I took my Mo You London Artist 17 nail plate and using Esmeltas Da Kelly stamping polish in Dolly and my Creative Shop Stamper and Scraper I stamped the Chevron and half moon design onto my nails.
This is the finished design
Don't forget to topcoat your design and cap the free edge
Hope you like this design
Thankyou for Reading
Yvonne xx
Hi There
Today I would like to dedicate this design to my sister as we both loved She-Ra when we were younger and we love her even more now lol.
Let's get started
Here are the materials I used
From left to right China Glaze Wanderlust, OPI Just Can't Cope-acabana, Kiko black polish 275, OPI You're So Vanilla, Avon Metallics Gold Leaf, Avon Metallics Platinum Petal, Avon Metallics Arctic Steel OPI Alpine Snow, OPI Fashion A Bow, Morgan Taylor Fame Game, China Glaze Boho Blues, ASP Wow It's Dry Top Coat, Sugar Bubbles SB017 nail plate and Uber Chic 3-03 plate. I also used my Fab Ur Nail stamper and my Creative Shop Stamper.
I started by painting all the nails white using OPI Alpine Snow
Next I took a piece of scrap paper and my China Glaze Boho Blues and China Glaze Wanderlust and put a few drops of each on the piece of paper I then took my stamper and smooshed it into the poishes and then immediately stamped it onto the nails. I did this on all the nails I kept smooshing until I was happy with the design and it looked like this
I then took my Morgan Taylor Fame Game and went over all the nails with a very light coat as it is glittery and I didn't want to loose the design I had just done. I then used ASP Wow it's Dry Top Coat to smooth everything out and protect the design.
Now for the stamping I took my Uber Chic 3-03 and stamped the image of the dots onto all the fingers except the ring finger using Avon Metallics in Platinum Petal. I then used the Uber Chic 3-03 plate again and Avon Metallics in Arctic Steel to stamp the corner stripes onto the ring finger.
Now I stamped the image of She-Ra onto my stamper using Kiko black polish in 275. I had to shrink the image as the original was too large for the nail
I coloured her in using OPI You're So Vanilla for the skin, OPI Just Can't Cope-acabana for her hair, OPI alpine Snow and Avon Metallics in Gold Leaf for her clothes and OPI Fashion A Bow for the ruby in her head dress. When this was dry I stamped it onto the ring finger over the stripes and this is the fininshed result
I hope you like the design as much as I do
Thank You for reading
Yvonne xx
Hi There
I just got my delivery from Rainbow Connection and this idea had already popped into my mind when I saw the plate. Tank Girl Camoflage nails.
Let's get started I hope you enjoy.
Here are the materials I used
From left to right OPI Matte Top Coat, OPI You're So Vanilla, Kiko Black 275, OPI Christmas Gone Plaid, Mundo Da Unas Neon Pink (29), Ruby Wing Kitten Heels, Fab Ur Nails Stamper, Creative Shop Stamper and Scraper, OPI Alpine Snow, ASP Wow It's Dry Top Coat, Sugar Bubbles Plate SB017 and Fab Ur Nails Fun 19 plate.
Let's get into the design
First of all I painted all the nails with 2 coats of OPI's You're So Vanilla
When dry I Stamped using Fab Ur Nails Plate Fun 19 and OPI Christmas Gone Plaid and used the camoflage image on the top right of the plate. It looked like this
I then used the same image but I used Kiko black polish 275. I turned the image upside down as not to cover the green, you should now have something like this.
Next I used ASP Wow It's Dry Top Coat to protect the stamping underneath. I now did the decal using Sugar Bubbles plate SB017 and I used the image of Tank Girl. I coloured her in using OPI You're So Vanilla for the skin, Ruby Wing Kitten Heels for her hair and OPI Alpine snow for the cigarette this is what it looked like on the stamper
I had to shrink the image as it was too big for the nail.
Whilst the decal was drying, I used Mundo Da Unas Neon Pink (29) to stamp the words Tank Girl on the ring finger using Sugar Bubbles SB017 plate again.
Now that the decal was dry I stamped the decal onto the middle nail
Finally I wanted to do a matte top coat but as most of you know they tend to smudge the stamped design so I top coated my design with ASP Wow It's Dry Top Coat first and then when this was dry I went over with OPI Matte Top Coat.
This is the finished design, I love this as I was a child that grew up in the 80s and when I first saw this film I was in love with it immediately. Hope you like the design as much as I do
Thanks For Reading
Yvonne xx
Hi There
Hope you all have had a good day. Today in Yorkshire it has been the first day of summer it has been hot and sunny so I wanted to do some nail art.
I decided to use pigments and polish and stamping to make some summery nails
These are the materials I used for the design
From left to right I used my creative shop stamper and scraper, Seche Vite top coat, Kiko black polish number 275, Gelish Top It Off, Gelish gel polish in One Cool Cat, Gelish gel polish in You Glare, I Glow, Gelish gel polish in Sea Foam, Gelish gel polish in Arctic Freeze, Gelish gel polish in My Carriage Awaits, Uber Chic plates 1-01, 1-02, 1-03, 2-03 and pigments in colours Neon Orange, Neon Green, Neon Yellow, Neon Pink and Neon Blue
I first started by creating acrylic nails on my nail trainer I went for a coffin shape
Next I painted all the nails a different colour I painted my thumb in Gelish polish Sea Foam, My index finger I painted in Gelish My Carriage Awaits. My middle finger I painted with Gelish You Glare I Glow, my ring finger I painted with Gelish One Cool Cat and the little finger I painted using Gelish in Arctic Freeze
As you can see the colours aren't exactly neon so I took my neon pigments and went over each colour with them as the polish was gel I left the tacky layer on the polish and took a soft brush and dabbed it in the neon pigment and then patted it onto the relevant nail. I used neon green on the thumb, neon orange on the index finger, neon pink on the middle finger, neon blue on the ring finger and neon yellow on the little finger.
I then top coated all the nails with Gelish Top It Off to seal in the pigments
Now I get to play with the stamping. I used Uber Chic Plate 1-03 on my thumb and stamped using KIko black polish number 275 and used the image of the large open flower. For my index finger I used black Kiko polish and Uber Chic plate 1-01, I used the leafy pattern. For my middle finger I used Kiko black polish and Uber Chic Plate 1-02 and I used the image of the rose. For my middle finger I used black Kiko polish and Uber Chic plate 2-03 I used the image of the palm trees. For my little finger I used black Kiko polish and Uber Chic plate 1-01 and used the line with the heart on it . When the design was dry I top coated it using Seche Vite.This is the finished design
What do you think I think the colours are very summery and the stamping plates stamp excellently. One reason why I used these plates is that I had bought them and had never gotten around to trying them but I am very happy with the result.
Thanks for Reading
Yvonne xx


