Hi There
Today I receivd my new Mariane plates from France and decided to do a letter design using it
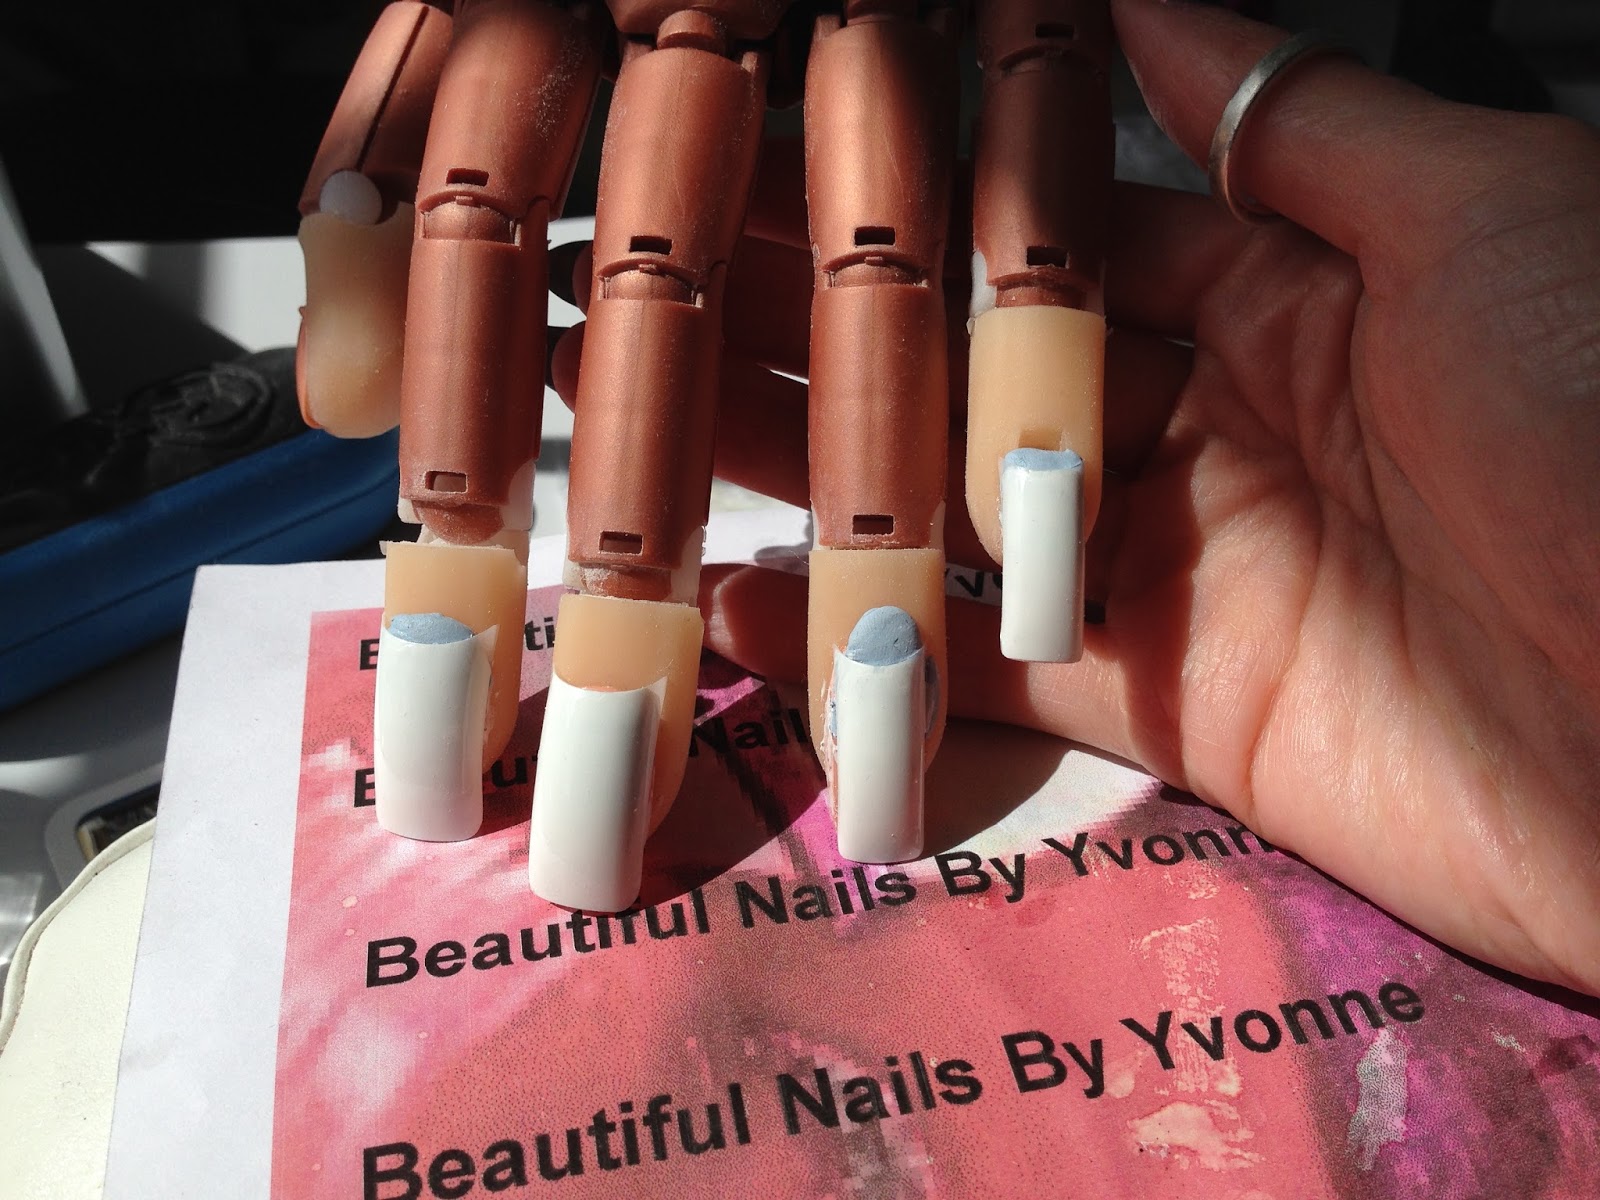
Here are the materials I used from left to right
Gelish gel polish in Do I Look Buff, Gelish Matte Top It Off, Gelish normal Top It Off, Kiko Polish in black 275, OPI polish in Going My Way or Norway, OPI polish in Romantically Involved, OPI polish in Alpine Snow, Magpie glitter in Jules, Gold glitter from The Nail Team, China Glaze polish in Nice Caboose, China Glaze polish in Release, Mo You London Scholar Collection Plate 02, Born Pretty Plate BP34 and Marianne Nail Plate 98.
I started by painting all the nails with 2 coats of Gelish Do I look Buff
I did the little finger first I took my Magpie Glitter and my gold glitter and using my glitter brush used this to press the glitter into the nail I used the Magpie glitter in Jules at the base of the nail and the gold glitter at the top of the nail
Next I did the middle finger and stamped using Mo You London Plate Scholar Collection 02 and black polish Kiko 275
I then moved onto the index finger and decided to do a decal I used stamping plate BP 34 and black polish Kiko 275. I then couloured in the stamped image using China Glaze Nice Caboose and China Glaze Release
Lastly I did the ring finger I did some smooshing by putting a few drops of polish on a piece of paper and then pushing my stamper into the mixture and smooshing it around. I used OPI Going My Way or Norway, OPI Romantically Involved and OPI Alpine Snow. I then stamped this on my nail
When you are happy with the design you are ready to stamp I took my Marianne Nails plate 98 and my black Kiko polish 275 and stamped the image of the postcard with the butterfly onto the smooshing design. I then top coated the ring finger with Gelish Matte Top It Off and the rest of the nails in normal Gelish Top It Off
This is the finished design
I am really happy with the way this design worked out
Hope you like it as much as I do
Thanks for reading
Yvonne xx
Hi There
Today I have been inspired by the romantic city of Paris for my nail design
Let's get started
Here are the materials I used
So from left to right as usual Gelish gel polish in The Big Chill, Gelish Matte Top It Off, Creative Shop stamper and scraper, China Glaze Adventure Red-y, Kiko black polish 275, Magpie Dust in Tiara, Glitter from The Nail Team in Crystal Shine, Gelish Top It Off, home made water transfers, Born Pretty nail plate number BP36, Messy Mansion nail plate number MM06 and Chez Delaney Roses 001 plate.
If you are doing this design on your natural nails be sure to use the Gelish Foundation base coat before you start. As I was painting straight onto acrylic enhancements I just started with the colour and I applied 3 coats of Gelish The Big Chill on all my nails.
Before starting my nails I made some water decals using water decal paper and google and used a picture of the Eiffel Tower. I put this in water or about 20-30 seconds and then peeled the design off the backing paper and stuck it onto my ring finger.
As you can see there are a few wrinkles in the design try to smooth these out.
Next I did my little fingers, I used a glitter brush to add the Crystal Shine glitter to my nails
I then turned to my middle fingers and I used Magpie Dust in Tiara and a glitter brush to add the dust. This is why I love using gel polish it allows glitter and powders to stick to it using the tacky layer so that you don't have to worry about smudging your design like what sometimes happens with normal polish.
Now that all your nails are painted and decorated use Gelish Matte Top It Off on your ring finger and normal Gelish Top It off on all the other nails.
Now is where all the fun starts I decided to do a rose decal for the ring finger. I used Chez Delaney plate Roses 001 plate and did the advanced stamping technique to do the rose. I stamped the design in Black Kiko polish 275 and coloured in the rose using China Glaze Adventure Red-y
Next I used Messy Mansion plate MM06 and used the Ooh La La design which I stamped in Kiko black polish 275 and stamped this on the side of the Eiffel Tower. Last but not least I used my Born Pretty BP36 plate and used the Paris Je t'aime design and stamped this onto my middle finger using Kiko balck polish 275. When you have finished add another coat of Matte Gelish Top It Off to the ring finger and normal top it off to your other fingers to seal in your stamped design.
This is the finished design. I am so happy with the way it turned out
I hope you enjoyed this tutorial
Thank you for reading
Yvonne xx
Hi There
I have had this design in my head for a while now but for some reason I haven't gotten around to doing it. It is a Banksy inspired design
Let's get started
Here are the materials I used
So from left to right as usual I used OPI Cement the Deal, OPI Muir Muir on the Wall, Beauty Secrets Silver glitter scented topcoat, Mo You London Stamping Polish in Black Knight, Esmaltes Da Kelly stamping polish in Muuualda, Mo You London stamping polish in Sweet Lips, Mo You stamping polish in Cool Pool, Mo You stamping polish in Deep Ocean, Fab Ur Nails Fun 3 stamping plate, Mo You London Rebel Collection 02 and Bundle Monster plate BM416
I know it's a long list but it does look quite good when the design is complete (well I think so anyway)
I started by painting my ring finger with 3 coats of OPI Muir Muir On The Wall and the rest of the fingers in 3 coats of OPI Cement The Deal
Next I took my Fab Ur Nails Fun 3 plate and used my Esmates Da Kelly stamping polish in Muuualdato to stamp the image of the brick wall on the ring finger
I know the image isn't straight but it doesn't really matter. I then took my Mo You London Rebel 02 plate and my Mo You London stamping polish in Black Knight and stamped the image of the little girl and the balloon on the middle nail
Now I took my Bundle Monster plate BM 416 and used the splatter image. I placed random sploges of Mo You London stamping polish in Sweet Lips, Cool Pool and Deep Ocean randomly over the image and then scraped. I then put this image over the ring finger to look like grafitti
Lastly as I like a bit of sparkle I used Beauty Secrets Silver Glitter scented topcoat on the little and index fingers.
This is the finishged design
I hope you like it
Thank you for reading
Yvonne xx
Hi There
Today I have done a wedding inspired design as it is wedding season
Let's get started
Here are the materials I used
So from left to right as usual, OPI Alpine Snow, Creative shop stamper and scraper, Mo You London stamping polish in Sweet Lips, Mo You London stamping polish in Black Knight, OPI Romantically Involved, Rhinestones, Pearls, Iridescent White glitter, dotting tool , Crystal Katana and Marianne Nails plate number 82.
I started off by painting all the nails with OPI Alpine Snow I used 2 coats
Next I put a topcoat on the middle and little fingers and added the iridescent white glitter ( I got mine from ebay and they are by Smileys6062 I can't tell you how wonderful her mixes are I highly reccomend them)
I have taken a close up of one of the nails as you can't s t is withot blrring the image slightly
Next I did the decal on the ring finger I used my Marianne Nails number 82 stamping plate and Mo You London Stamping Polish in Black Knight to stamp the image
I used OPI Romantically Involved and a dotting tool to fill in the flowers. As I wasn't filling in the rest of the image I covered it in clear polish so that it would stick to the nail when I rolled it on. I then added a rhinestone to the middle of the flower in the bottom left hand corner
It looked like this
For the index finger I used my Marianne Nails stamping plate number 82 and my Mo You London Stamping polish in Sweet Lips and stamped the swirly image onto the nail
The last thing to do now is to add some bling. I used some rhinestomes and pearls on the middle finger over the glitter. I added these using my Crystal Katana which is amazing, and created a pattern in the top left corner of the nails and the bottom right corner. To tie in the little finger I added 1 rhinestone and 1 pearl to the top middle of the nail and this is the finished design
What do you think I really like it and you can switch the colours to match the theme of the wedding.
Thank you for reading
Yvonne xx


