Hi There
I am so excited I had to post this right away although I have already posted today.
I have made my own water decals( yey).
The materials you will need are transparent water decal paper (my printer is an ink jet printer so this is the decal paper I bought and you can get it from Amazon.co.uk). You will also need a can of acrylic gloss spray(also available at Amazon.co.uk) but if you can't find this a cheap nail varnish will do instead ( it is only used to stop the image from bleeding when it is put in the water). The other things you will need are base coat, base colour, a bowl of water, scissors, plain white paper and tweezers. You will need a computer that has word and or power point installed and google(for the images) I think that's it.
So the first thing it to find the images that you want to have on your nails and copy the images into a word or power point document
Sorry for the bad quality of the image it's because the monitor shows up funny through the camera. So the next thing to do is to re size the image so right click on the image and select format picture
Once you have selected this a box will come up, if you want to crop the image select picture but we want to re size this to fit our nail so click on size
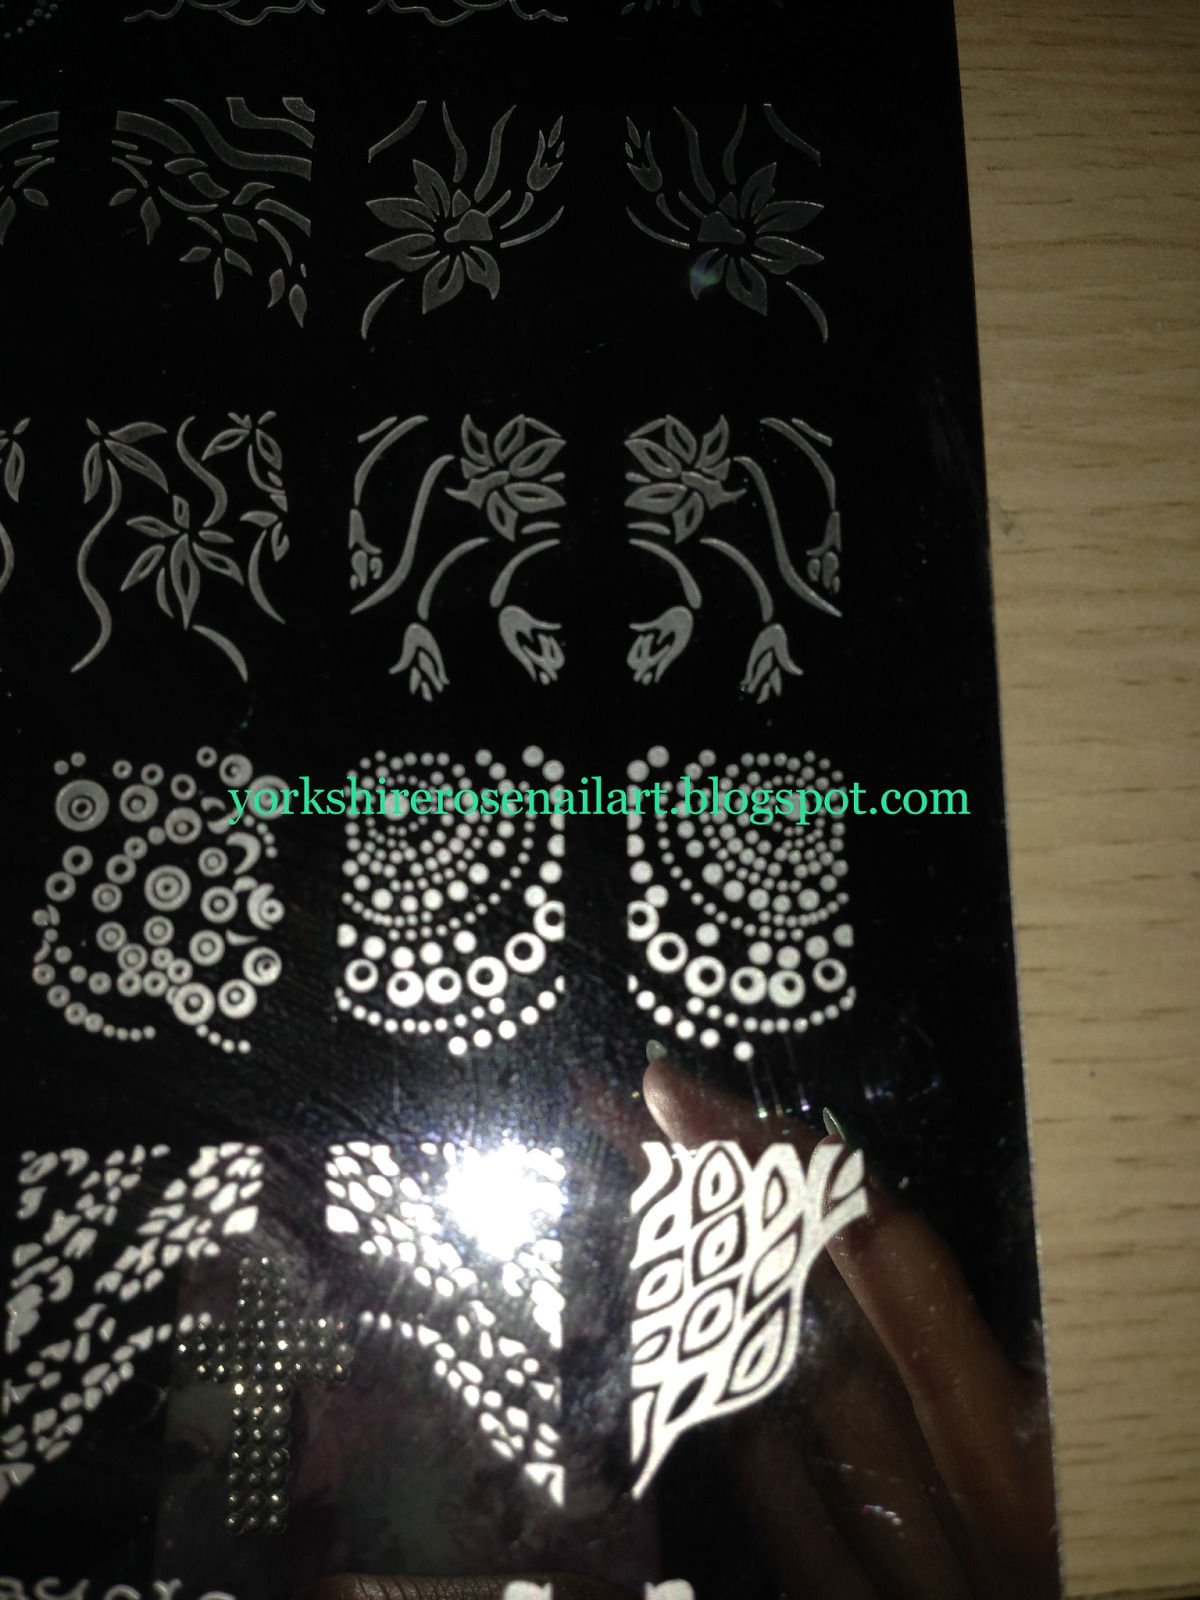
Enter the height and width that you want the image to be and then do a print test on a sheet of plain white paper to see how the image looks, and to make sure that the image is small enough for your nails. When this step is compete and you are happy with the size you are ready to print onto your decal paper. I would suggest that you fill the full sheet with designs as to avoid wasting the rest of the paper like this
I like quite gothic images but I have also got images of the minions from Disney's Despicable Me and images from Disney Tangled. I then left the images to dry. I sprayed them with the acrylic spray but this turned out to be a major fail as the images still smudged even though I left them to dry over night so I went with plan B and covered them with a cheap clear nail varnish.
Whilst this was drying I painted my nails
I painted all my nails with my usual base coat Sally Hansen Advanced Hard As Nails Strengthener I then painted my thumb and ring fingers in Mayfair by Nails In and my index, middle and little fingers in Disco Lane by Nails Inc (a holographic black polish). I then selected the image that I wanted to put on my thumb and ring finger
As you can see I cut out the image and then soaked it in the water for a few seconds. I then slid the image off the backing paper and using my tweezers placed it on my nails. I then positioned the image where I wanted it and dabbed it with a piece of tissue to remove the excess water and waited for it to dry. When dry I covered the whole mani with a quick drying topcoat
This is the finished mani
I love this design I know it's not for everybody though.
What do you think
Please leave any questions that you have about this technique or other mani's I have done in the comments box and I will answer all questions. Do you like this mani please also leave comments below, and if you have any ideas of mani's you would like to see me do in future please also put this in the comments
Thank you for reading I know this is a long one
Yorkshire Rose xx
Hi There
I saw this pattern when looking through my image plates and had just bought some new polishes from Zoya and Sinful Colors, so I thought I would try them out.
I started with Sally Hansen Advanced Hard As Nails for my base coat and then painted all my nails with Sinful Colors Envy (doesn't it look gorgeous? I love green)
I then used chevron shaped nail tips and placed them at the bottom of my nail, so that I had a blank triangle shape. I then stamped using image plate by Cici & Sisi 06 and I used the image that looks like a tartan pattern. I stamped using Zoya Laney (a shimmery silver).
After I had stamped the image and it had dried slightly I covered the design with OPI Top Coat and put hex glitters in the triangular space at the bottom of the nail
This is the finished look
What do you think
Don't forget to leave a comment if you like this and let me know if you have any ideas that you want to see me do
Thank you for reading
Yorkshire Rose
Hi There
Today I am doing another decal manicure but this time I have chosen to do a Hello Kitty inspired manicure (don't know how it came about as was planning on a Mickey mouse mani)
I started with my base coat Sally Hansen Advanced Hard as Nails and then 2 coats of Barry M's Gelly Hi Shine polish in Prickly Pear
I then took a thick piece of plastic and painted 2 squares using 2 coats of base coat onto it. When dry I took my YH810 plate
I used the Hello Kitty image and stamped in Licorice by Essie
I stamped this onto the topcoat when it was dry. I then coloured the decal in using W7 yellow polish number 19 (from the UV collection) for her nose and the red for her bow is golden rose in red number 48(sorry no name of the colour on the bottle). I then used Sinful Colors in Snow Me White to colour in the rest of the image.
I know it looks a mess but remember that this is the back of the image. Whilst the decal was drying i stamped my thumb, index, middle and little fingers with spots
Using the M79 plate and Claire's Accessories stamping polish in white
Unfortunately the stamp didn't work very well and only partially transferred the spots so I had to go over them with a dotting tool. By now the decal was dry so I put a layer of base coat on my ring finger and peeled the decal off the plastic using tweezers and placed it on my ring finger and smoothed the image out over my nail to make sure that there were no creases.
I then added dots using my dotting tool to the bottom of the nail to make the design blend in with the other nails and I added a red decal in the middle of the bow to add a bit of something shiny
This is the finished design
What do you think
Don't forget to leave a comment if you like this and let me know if you have any ideas that you want to see me do
Thank you for reading
Yorkshire Rose
Hi There
I have just received a bunch of new China Glaze holographic polishes and just couldn't wait to test them out.
I started this manicure with my usual base coat Sally Hansen Advanced Hard As Nails and this also doubles as my base colour on 2 of my nails
I then put nail tip guides on my index and ring fingers and painted the tip with China Glaze OMG A UFO (a beautiful green holo). I also painted my full thumb,middle finger and little finger in the same colour
I then used Mo You London Pro Collection plate 05
I used the top left star image and stamped this on my thumb, middle and little fingers I also used the image on the second row in the middle to stamp on my index and ring fingers. Unfortunately the image was a bit small so I didn't get full coverage on my thumb as they are rather large, but I still love the end result.
This is the finished design
What do you think
Don't forget to leave a comment if you like this and let me know if you have any ideas that you want to see me do
Thank you for reading
Yorkshire Rose
Hi There
I was looking through my nail plates and got inspired by this design, hope you like it
I started with my base coat which as always is Sally Hansen As Hard As Nails. I then painted all my nails with 2 coats of NYC Mint Macaroon( I absolutely love this colour)
I then used my stamping plate M
And this spotty image
I then stamped this image on all my nails using Sinful Colors in Snow Me White
This is the finished mani
What do you think
Don't forget to leave a comment if you like this and let me know if you have any ideas that you want to see me do
Thank you for reading
Yorkshire Rose
Hi There
Today I am so excited, I have managed to do my first ever home made decal and it looks pretty good too to say it's my first one.
To start I used Sally Hansen Hard As Nails for my base coat. I then painted all my nails except the ring finger in Models Own Bubblegum(a bright matte pink colour). I painted my ring finger with Sinful Colors Snow Me White
Whilst my nails were drying I got my decal ready. I started with a sheet of plastic and made a square out of top coat big enough to cover my nail in this case my ring finger I used for this In a hurry air dry top coat(don't know what brand it is but it has a fancy A on the label)
I then left this to dry I have drawn a line around this as it is hard to see. When dry I stamped the heart image from Mo You London Pro Collection 05
I stamped this using Licorice by Essie
I then coloured in alternative hearts with a nail art brush to make a pattern using Models Own Bubblegum , I also wanted to see the background colour through the decal. Don't worry about going out of the lines you won't be able to see this on the finished decal as the hearts are a lighter colour than the background colour.
I then put this to one side to dry. When completely dry (which doesn't take long) I used a pair of tweezers to remove the decal from the plastic and put 1 coat of top coat on my ring finger. I then placed the decal on the nail smoothing it out from the centre to make sure that there were no creases and put a coat of top coat over it. This makes the outer edges of the decal shrink. I then used a cotton bud dipped in nail varnish remover to clean up my cuticles. My very last step was to put a matte topcoat over all the nails.
This is the finished design
What do you think
Don't forget to leave a comment if you like this and let me know if you have any ideas that you want to see me do
Thank you for reading
Yorkshire Rose
Hi There
Valentines day is almost upon us (bah humbug) so I thought that I would do a valentine mani
I started with my usual base coat Sally Hansen As Hard As Nails and then applied 2 coats of Sally Hansen Complete Salon Manicure in Plums The Word.
I then used image plate O
And this image
I then stamped this in red which is by Golden Rose (but there is no name an image of the bottle is on the finished design) on my thumb and ring finger. I then used plate YH808
Using this image
I stamped this image on my index and little fingers. I then used Pueen plate 43
I stamped the image on the right onto my middle finger using Essie's Licorice
This is the finished mani (sorry was in a rush and didn't have time to clean my cuticle area properly)
Just to add my mum saw the YH808 plate and loved the hearts that I did on my index and little fingers and asked me if I could stamp them on her nails, of course I said yes. She already had on 2 coats of OPI's Care To Danse. I used Nails inc's Tate (a bright red colour) to stamp the hearts on all of her nails. My mum loved it here is the finished mani.
What do you think
Don't forget to leave a comment if you like this and let me know if you have any ideas that you want to see me do
Thank you for reading
Yorkshire Rose
Hi There
I thought that since my blog was called Yorkshire Rose Nail Art, that I should maybe do a Yorkshire Rose manicure.
For this design I used my usual base coat Sally Hansen Hard As Nails. I then painted all the nails with 3401 from Bourjois Paris. There is no name on the bottle so I have added a photo
I then stamped using Mo You London plate Pro Collection 04
I used the rose image (bottom middle) and stamped in Claire's Accessories white stamping polish on my ring finger only
This is the finished mani
What do you think
Don't forget to leave a comment if you like this and let me know if you have any ideas that you want to see me do
Thank you for reading
Yorkshire Rose
Hi There
Today I have done a flowery mani.
I started with my usual base coat Sally Hansen Advanced Hard As Nails. Followed by 1 coat of Barry M Chameleon Lilac
I then stamped all my nails using MoYou salon pro plate VI
I stamped using this flowery design (the one in the middle)
I stamped using white polish from Claire's Accessories and Models Own in Pukka Purple (a matte varnish). I placed each colour diagonally across the image and then used an orange stick to blend the 2 colours together in the middle then scraped and stamped.
Here is the finished mani
What do you think
Don't forget to leave a comment if you like this and let me know if you have any ideas that you want to see me do
Thank you for reading
Yorkshire Rose
Hi There
Today I have decided to do a manicure using magnetic nail varnish
I have put on my usual base coat Sally Hansen Hard As Nails and 1 coat of Barry M magnetic nail varnish in Magnetic Burgundy on all my nails and then used the magnet on the top to do the diagonal stripes pattern.
I then used the zebra print on the moyou salon pro VI plate to stamp my thumb and ring finger using white stamping polish from Claire's Accessories.
As I am unable to stop fiddling with things, I thought that the zebra print was a bit too white so I used a cheap nail varnish that I got from xtras in number 57 (sorry this doesn't have a name). It is a pink jelly varnish with glitter and painted all my fingers with it. It makes the zebra stripes pink and adds a bit of sparkle.
Here is the finished mani
What do you think
Don't forget to leave a comment if you like this and let me know if you have any ideas that you want to see me do
Thank you for reading
Yorkshire Rose