I know I usually post on the weekend but I couldn't miss the opportunity to do a manicure for the Chinese New Year.
Here is a very interesting fact: On the Chinese New Year everybody gets 1 year older no matter what date you were born.
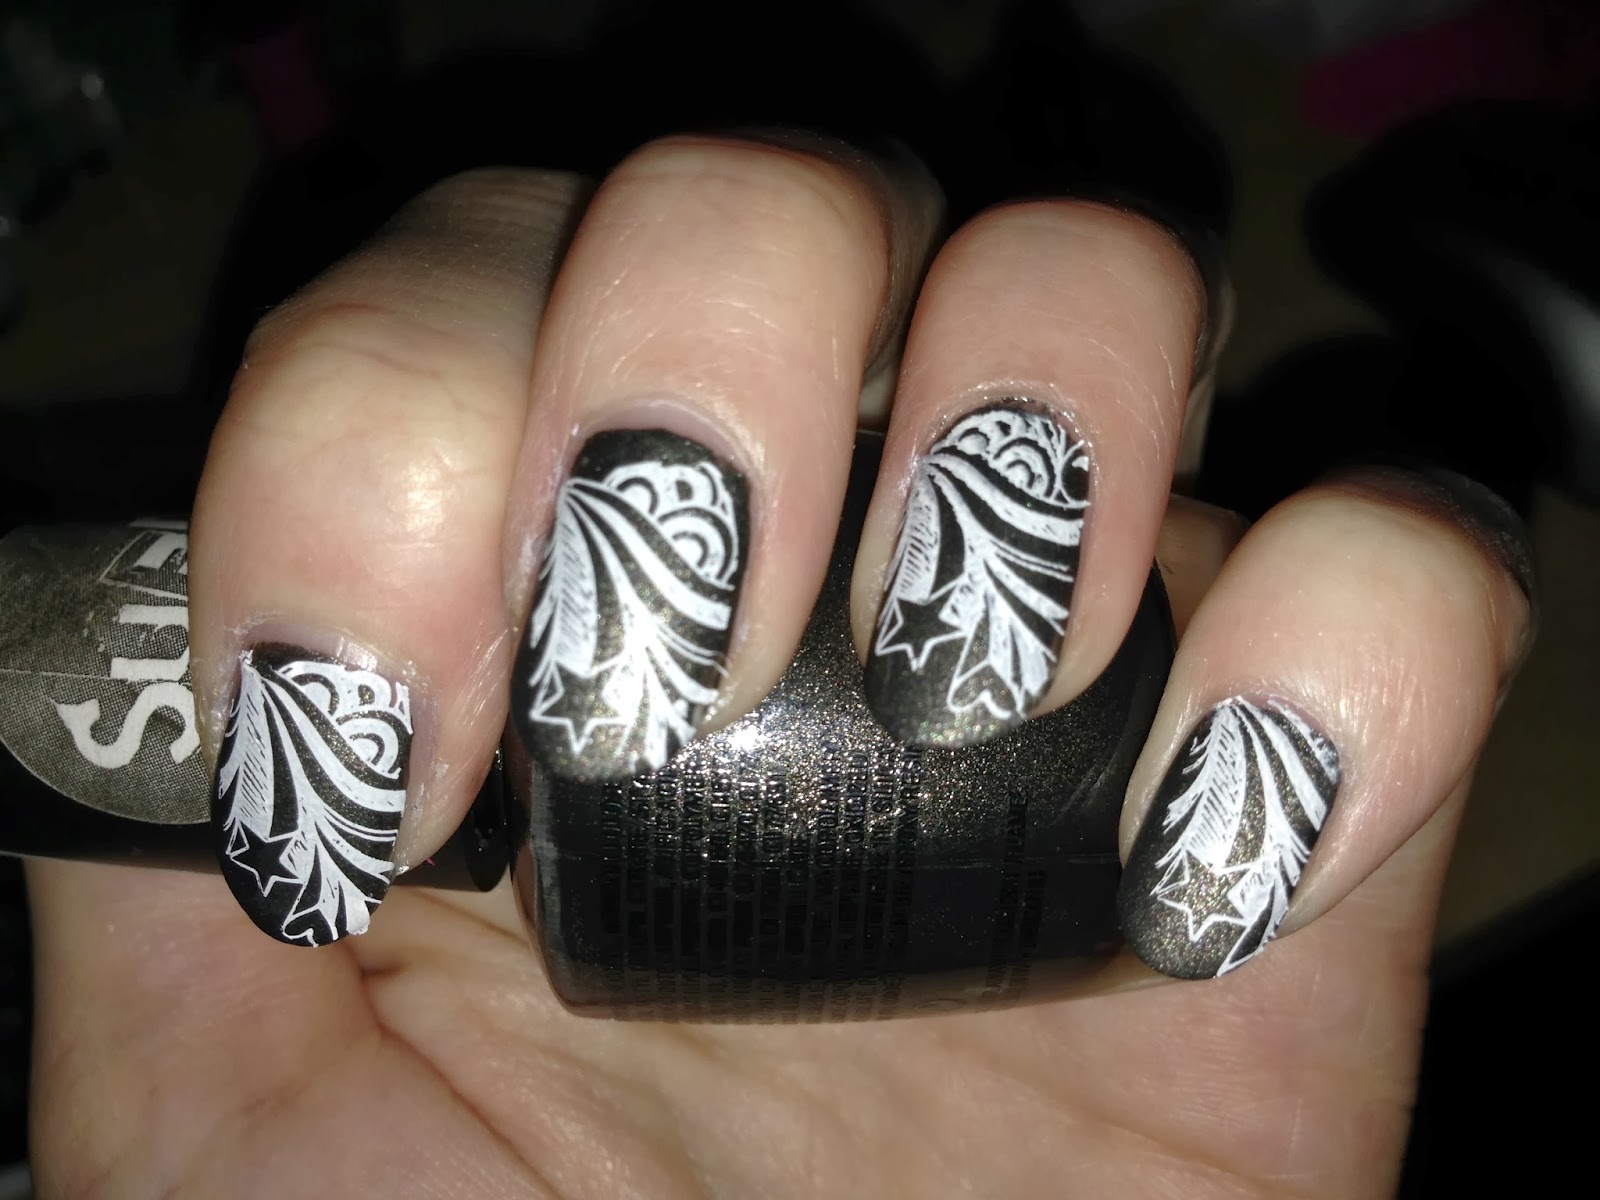
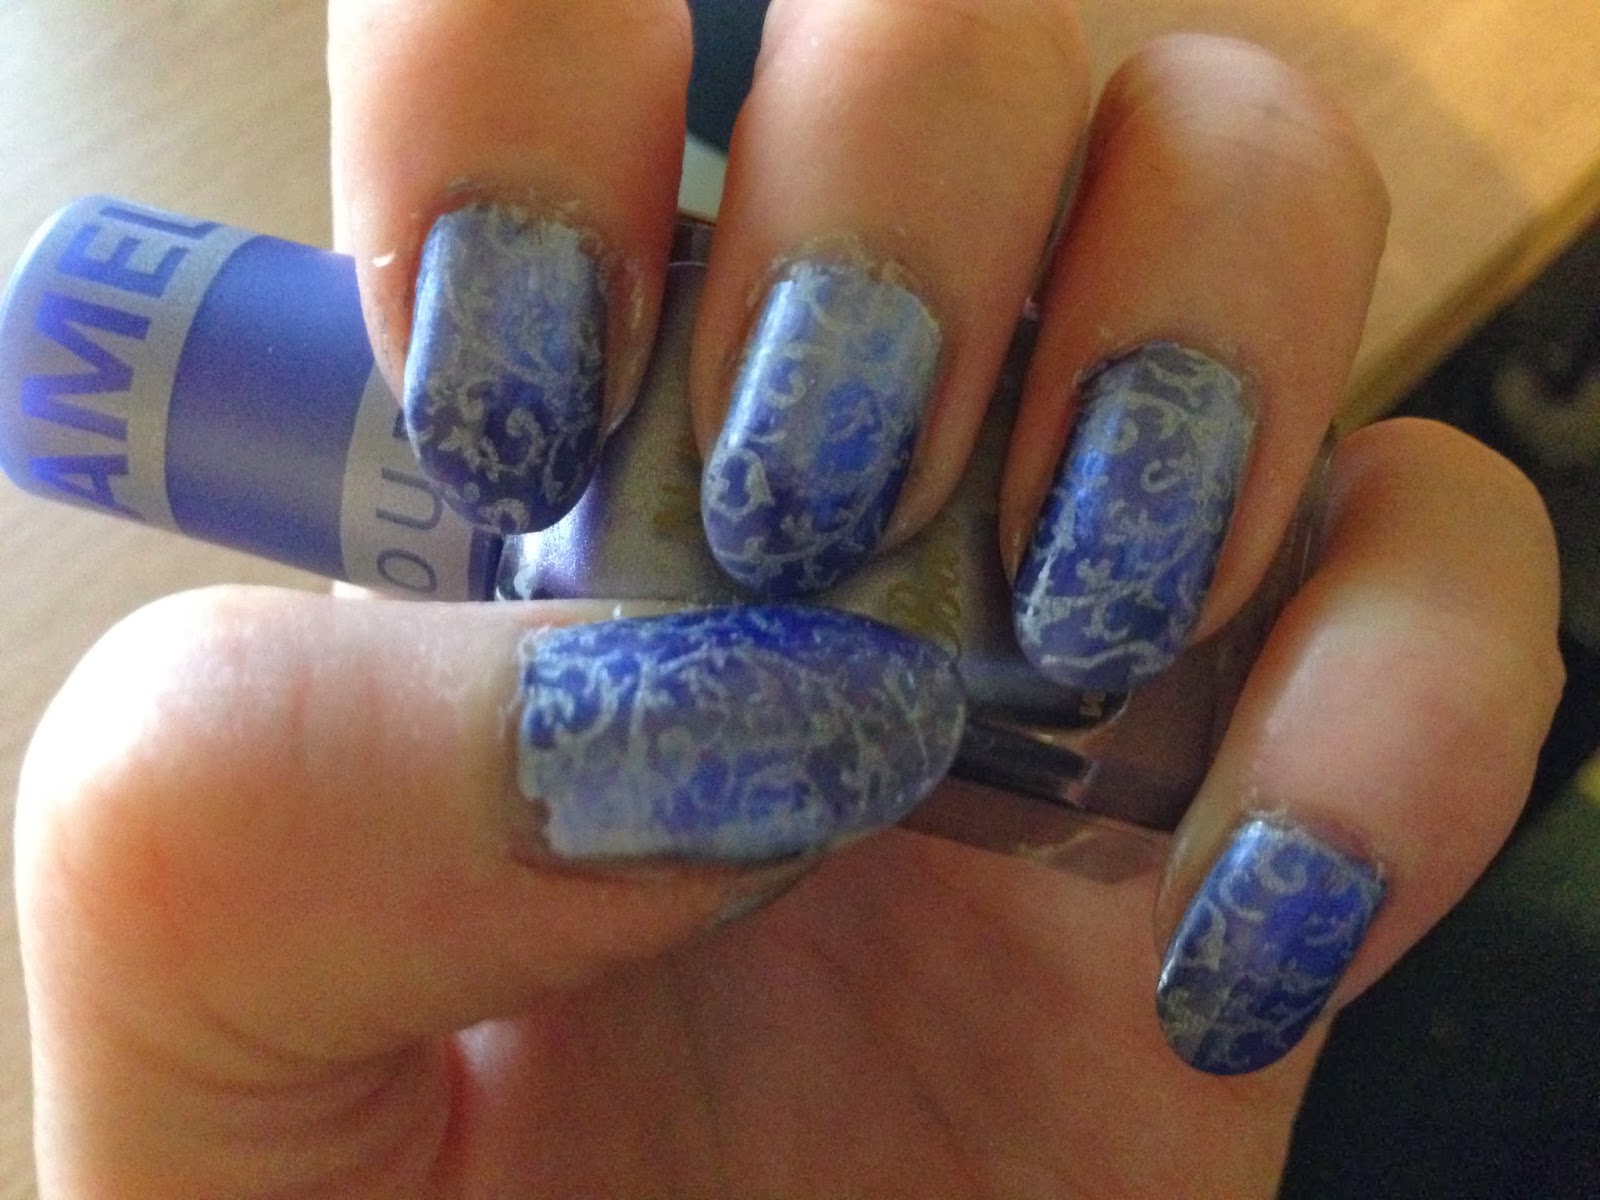
So I started with my usual base coat Sally Hansen Advanced Hard as Nails, followed by 2 coats of Golden Rose number 48 a beautiful red colour (there is no name on it and i received it free with some nail varnish that I bought online) and as we all know red is a lucky colour in China.


 I
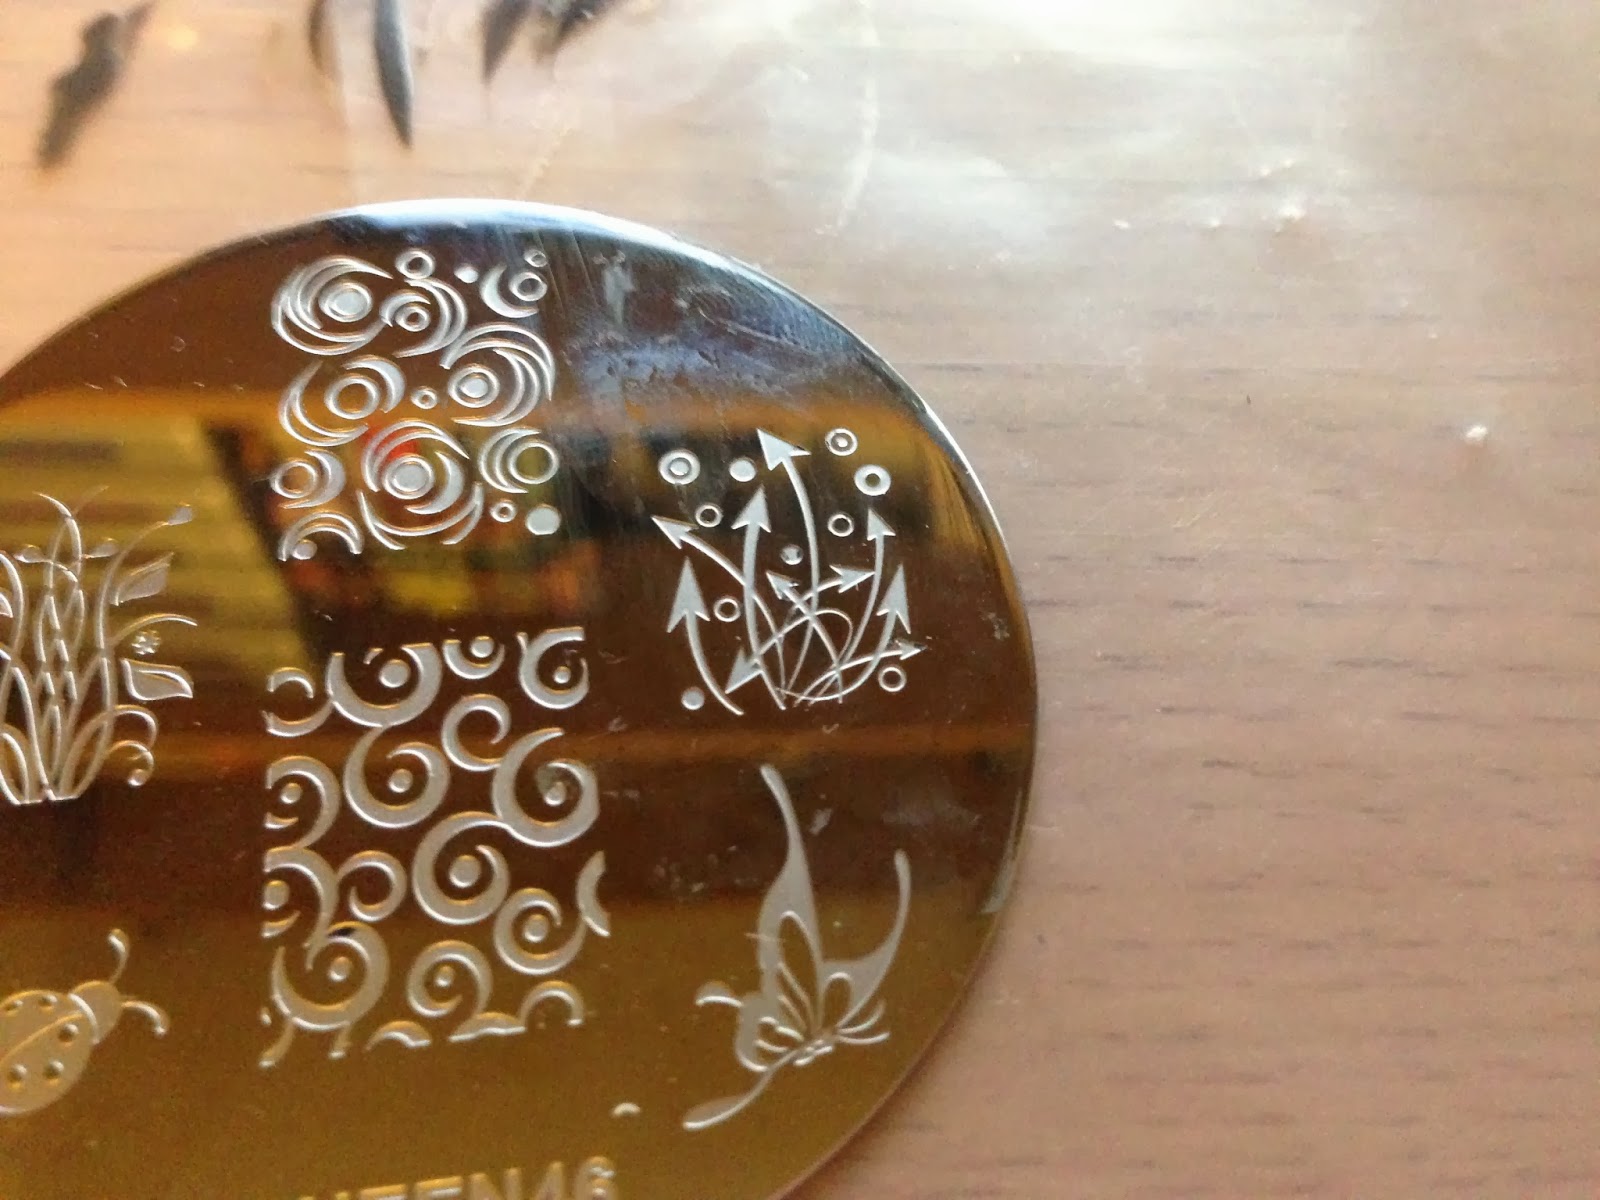
I I used the dragon design (I know it is the year of the horse but I couldn't resist he's gorgeous) and used Nails inc Chelsea Bridge Road to stamp with which is a gold foil effect varnish

What do you think
Don't forget to leave a comment if you like this and let me know if you have any ideas that you want to see me do
Thank you for reading
Yorkshire Rose